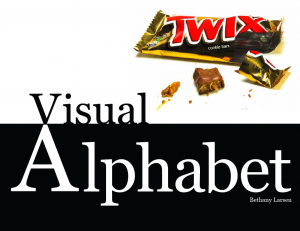
The purpose of this project is to gain experience in storytelling, understand the importance of visual communicating in everyday life, and create a unified series of images that will form an alphabet.
The goal
The goal is to create an alphabet using common objects and tell a story with those objects. The alphabet as we know it was first displayed using everyday objects. Now they are merely symbols but we know them as letters that we can read and sound out. Taking this idea and working off of it, I will create the alphabet out of everyday objects.
Research
My research consisted of looking at lots of pictures of things. Anything really. The great part about this project is that everything I looked at could potentially create the letters of the alphabet.
When I ate at Arby’s, one of my fries looked like a lowercase ‘g.’ I realized that almost anything could form the letters of the alphabet.
Sketching alphabet ideas
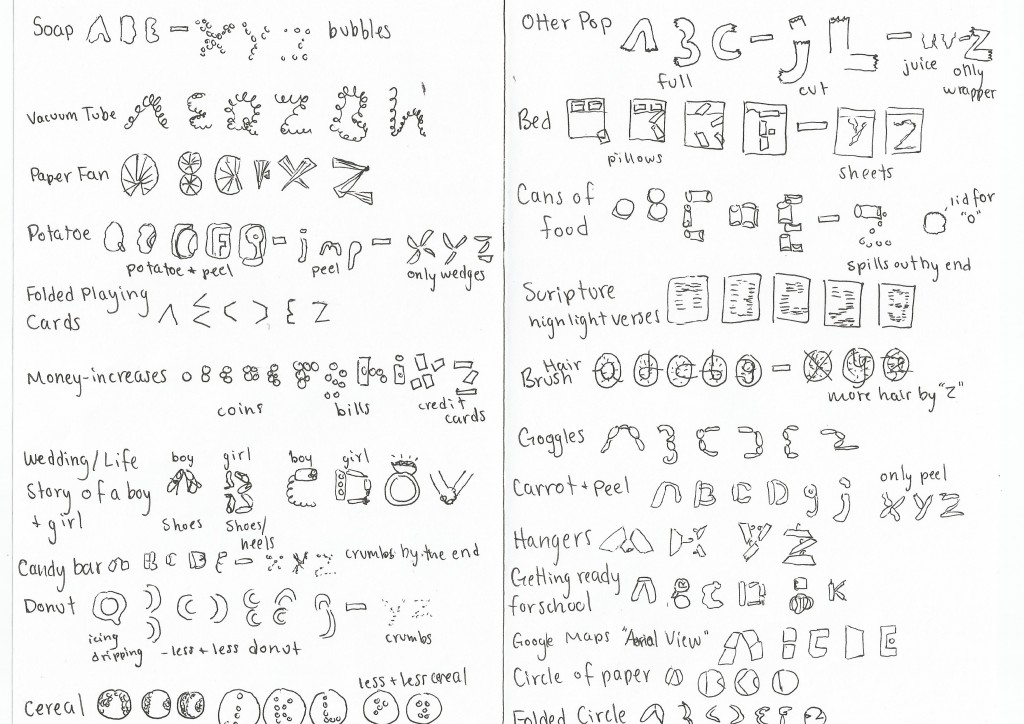
After looking at tons of pictures, I realized that I could use just about anything to make my alphabet. So I began messing around with some ideas I’d come up with.
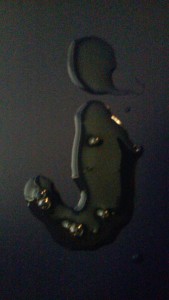
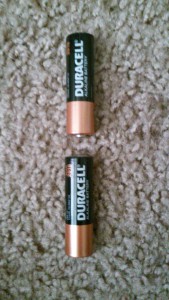
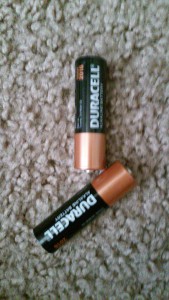
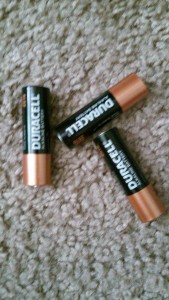
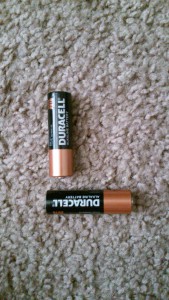
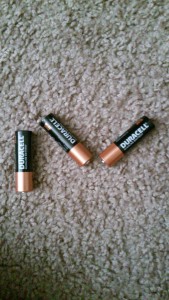
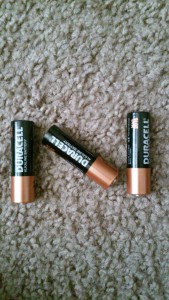
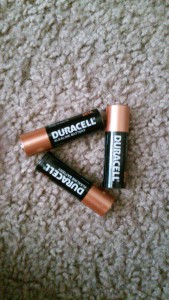
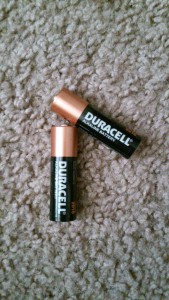
Then I realized that I needed more constraints on my alphabet. For instance, I could’ve used as many coins as I needed to make the letter A, but what if I tried to only use 3 coins – for the entire alphabet? So I grabbed some batteries to test my theory. What is the least amount of batteries I would need to make every letter of the alphabet. Could I do it using just 3? or 2? Here are the letters I through P.
What the batteries taught me
Constraints are good
The battery letters helped me see that using constraints makes the letters more interesting. For instance the letter “O” has a cool look to it because I could only use three batteries. I also realized that constraints make some letters like “P” and “M” hard to read.
Only 3 lines
The batteries also showed me that the entire alphabet can be made using 3 batteries, or 3 lines.
Twix time
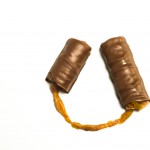
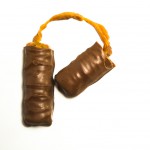
After I did this experiment I tried making letters using a twix bar. I had success because I already knew I could make the entire alphabet with 3 lines. So I realized that if I broke the twix twice, that would make three lines, and I’d be able to form the alphabet. Here’s the result of two breaks:
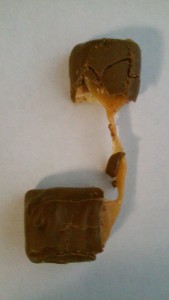
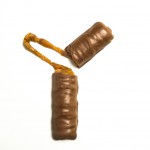
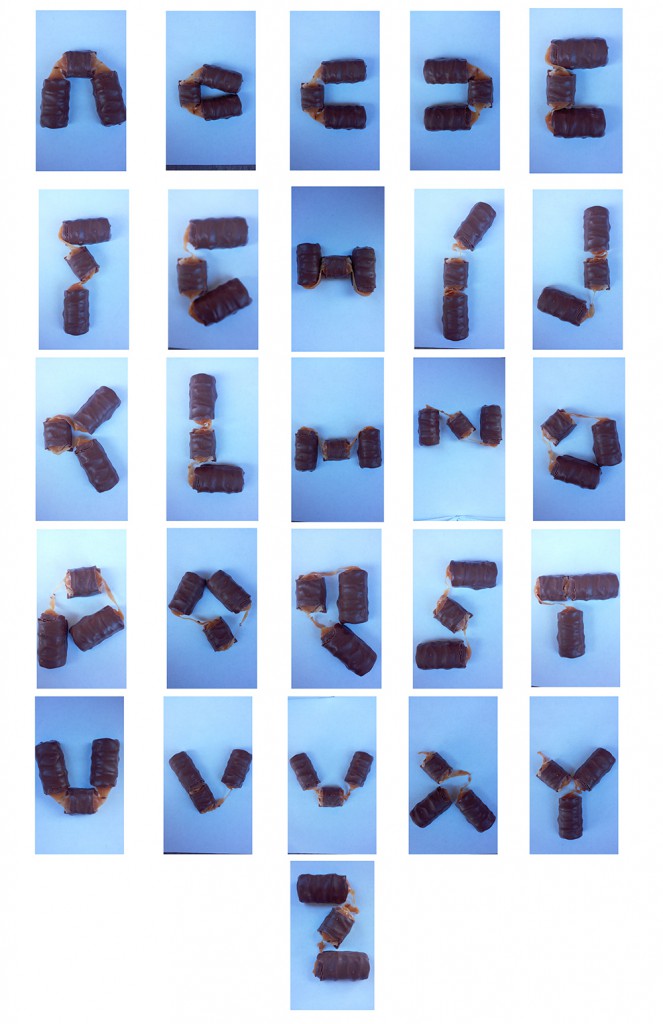 Once I broke it twice and started making letters, I noticed that the caramel would form the third line so I didn’t need to break it a second time. Here’s the result on only one break:
Success
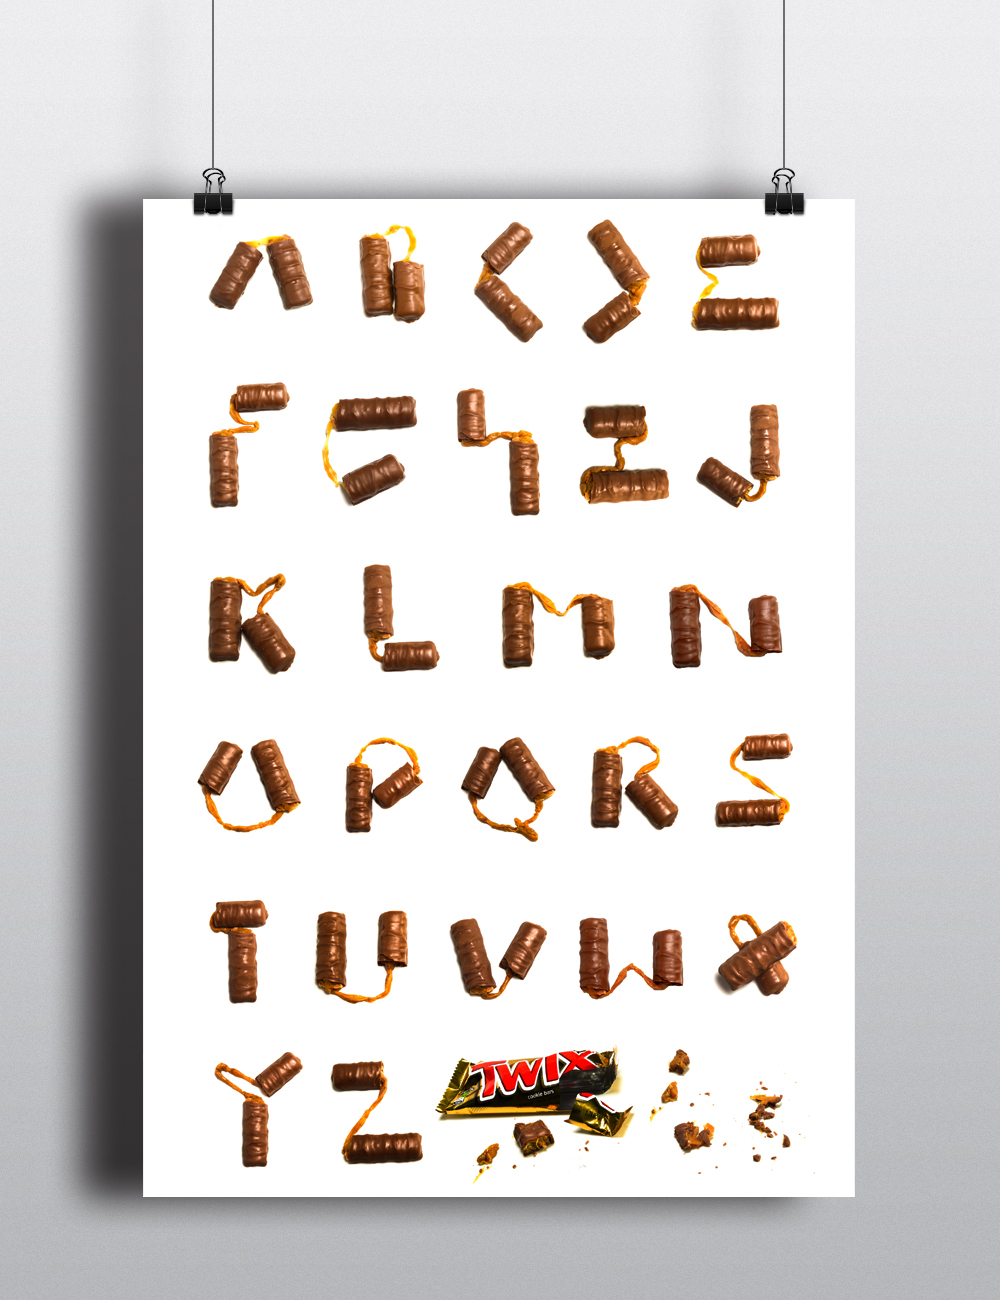
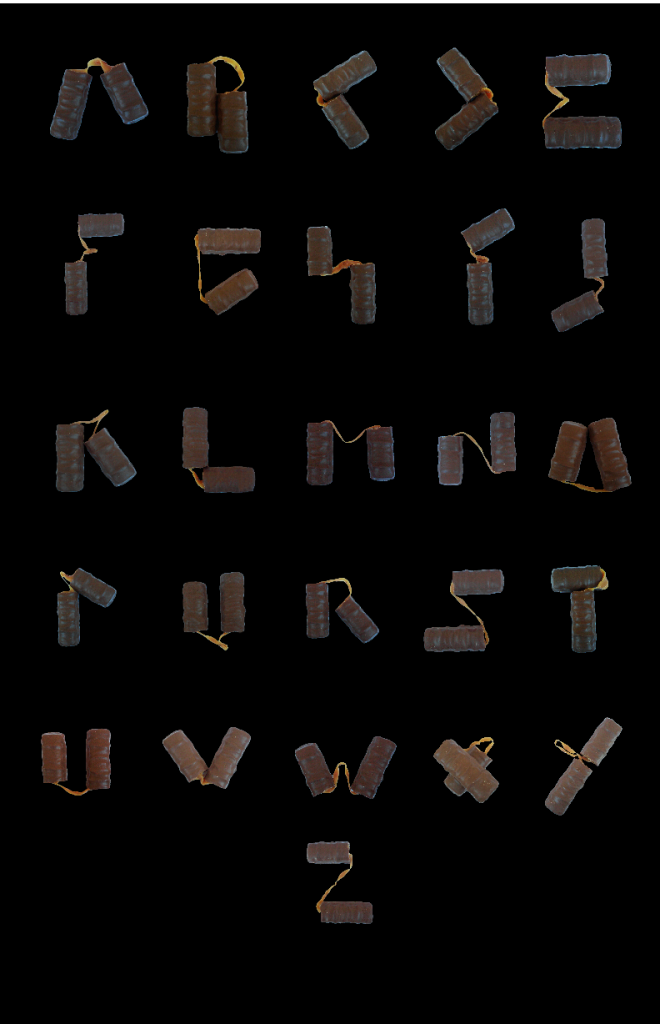
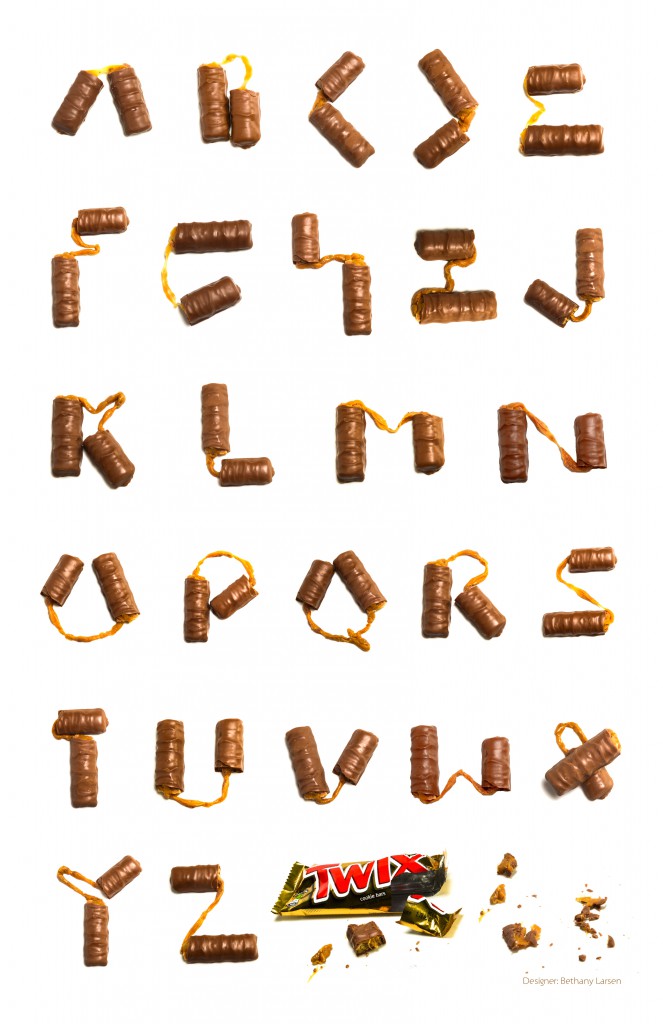
I was able to make every letter using a twix bar with one break! I decided this is was the idea I would use for the final alphabet. After this step, I got pictures of the twix taken with a nicer camera and some professional lighting and these images are the result:
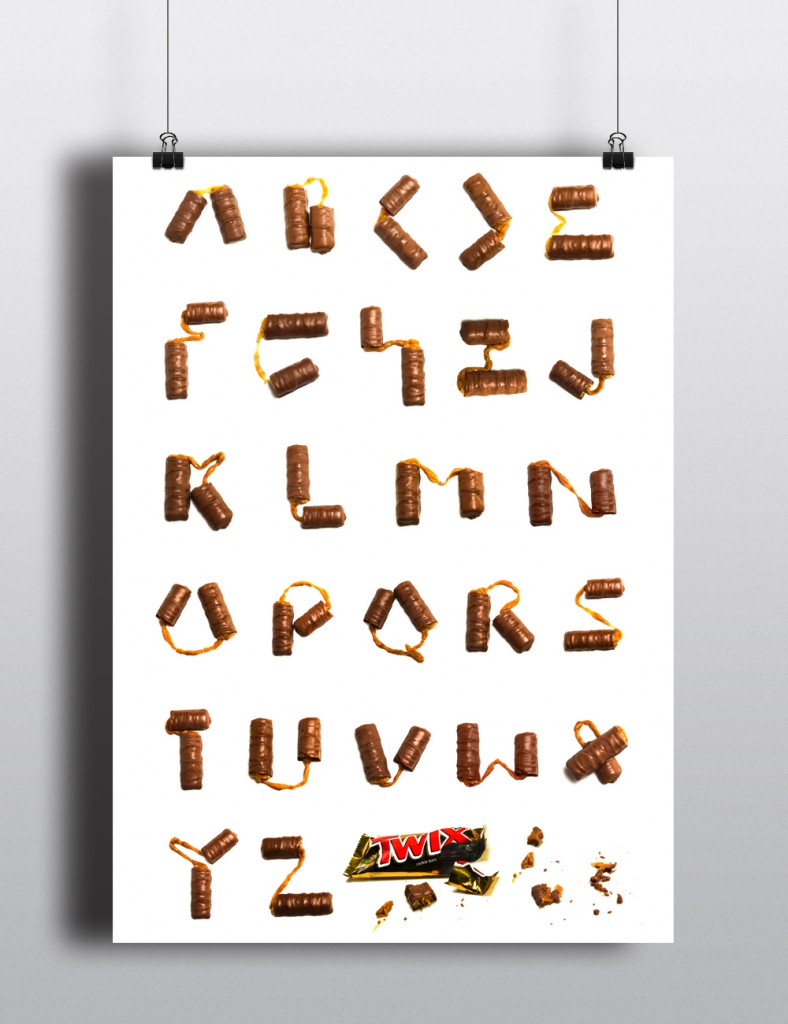
During the photoshoot, I got some pictures taken of the twix wrapper and some crumbs, and I’m so glad I did! Because I ended up using those images in the final poster.
Final poster
Want to see more?
Here is the PDF of the entire twix alphabet process.
